JPG to PDF for Scanned Notes: Combine Multiple JPGs Into One PDF
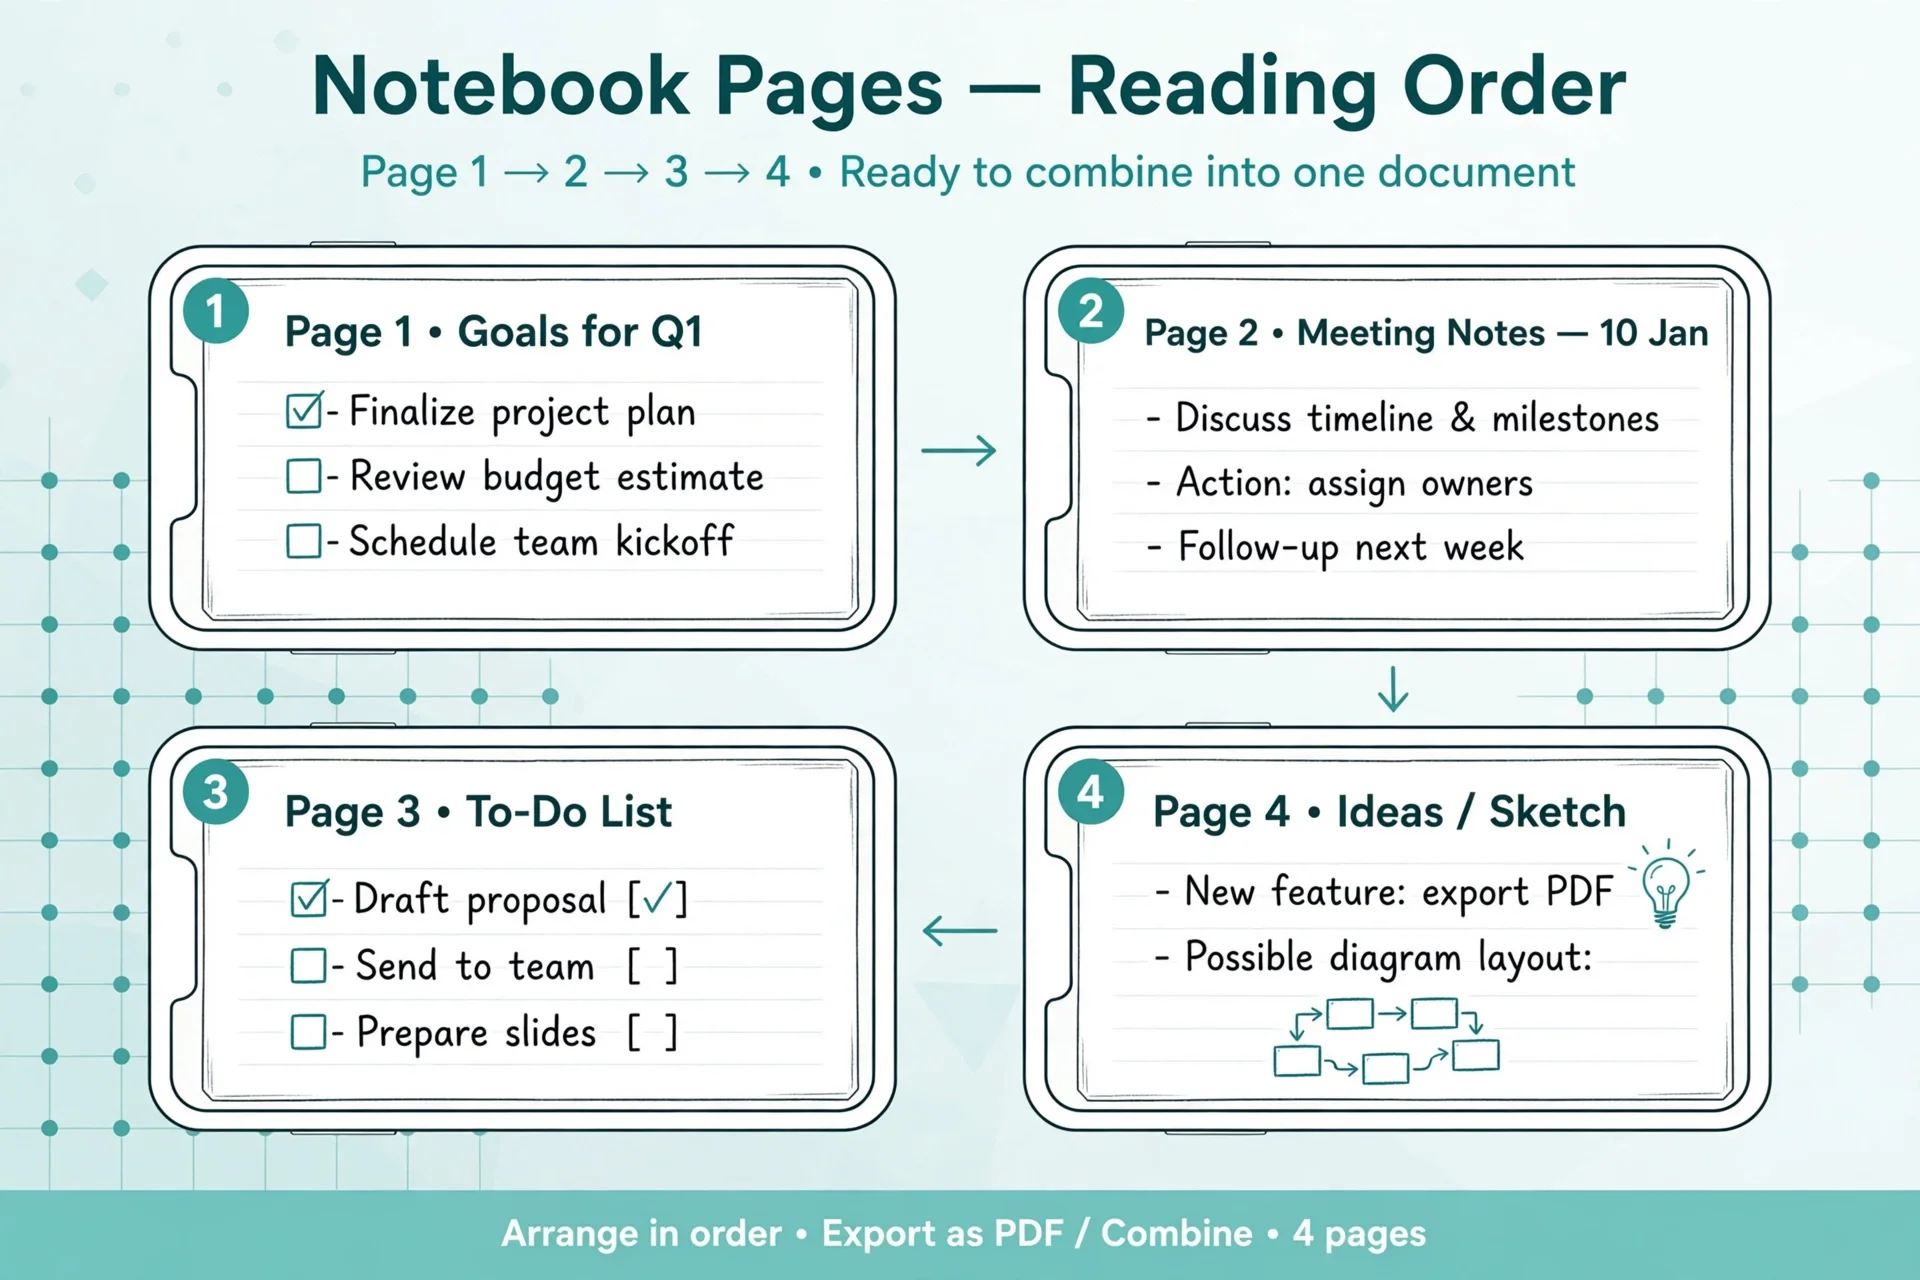
A notebook full of lecture notes becomes a dozen phone photos, and a dozen photos are hard to send, hard to read in order, and easy to lose. Turn them into one PDF instead: one file, pages in the right order, handwriting still readable.
Quick answer
To turn scanned notes into one PDF, photograph or scan every page in reading order, in soft even light, with the page flat and fully in frame. Then add the JPGs to a JPG to PDF converter in that same order, keep one photo per PDF page, and download a single file. Check the faintest handwriting at full zoom before you share it, and keep the original photos until you have read the finished PDF once through.
Where scanned notes go wrong
Most bad note PDFs fail before the conversion starts. The photos are out of order, one page is upside down, a shadow falls across the middle of a page, or pencil writing fades into the paper. No converter can repair a page it cannot read.
Order is the most common failure. Phone galleries sort by time, not by page number, so a retaken page jumps to the end of the set. A reader who opens page 7 after page 2 has to guess where the argument went. Naming the photos in page order before converting removes this problem completely.
Handwriting is also harder to capture than print. Printed text is dark and uniform. Pencil is light grey, ballpoint pressure varies from stroke to stroke, and highlighter colour can vanish when a photo is turned black and white. Ruled lines, margins, and ink showing through from the other side add noise on top. Small care at capture time pays off far more than any cleanup afterwards.
Size is the quiet third problem. A set of full-resolution phone photos can make a PDF too large to email or upload to a form. The fix is not to shrink the photos until handwriting blurs. It is to pick a sensible page size and image quality once, and to convert only the pages the reader needs.
Shoot or scan better first
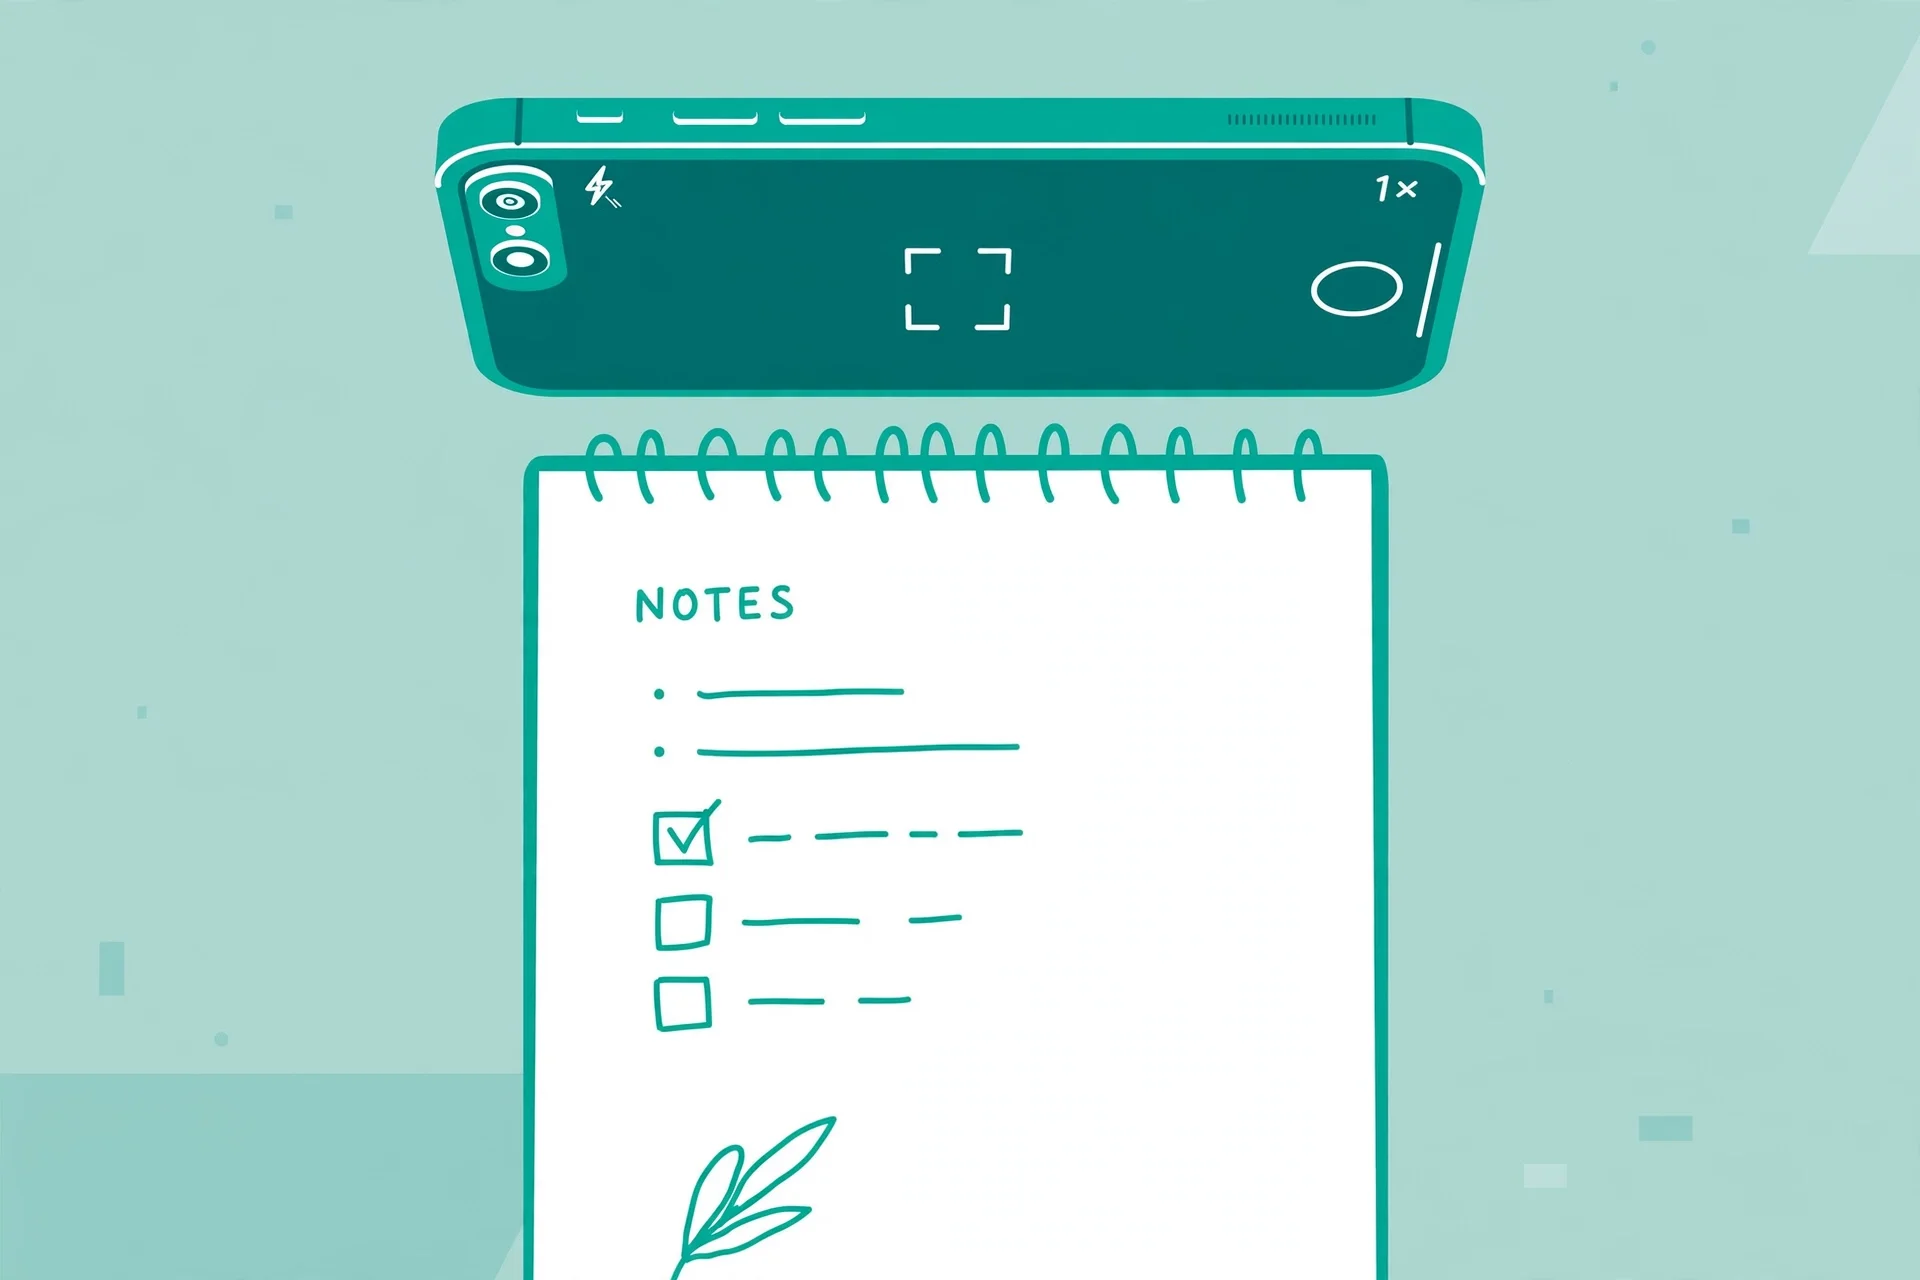
If you change only one thing, change the light. Soft, even light makes faint strokes visible and keeps the page one tone from corner to corner. A window in daylight works well as long as direct sun is not hitting the page. At night, an overhead room light usually beats a desk lamp to one side, which leaves one side bright and the other in shadow.
Watch for your own shadow. Leaning over the page puts your head and phone between the light and the paper. Stand so the light comes from in front of you or slightly to the side, and move a step sideways if you see glare on glossy paper. Keep the phone parallel to the page and the whole page in frame, with a small margin around the edges so nothing is cropped.
Choose colour or black and white on purpose. Black and white cleanup makes dark ink crisp, shrinks the file, and removes paper texture and ruled lines. It suits plain notes in dark ink. But if colour carries meaning, such as highlighted definitions, red corrections, or colour-coded diagrams, keep the scan in colour. Turning those pages black and white can erase exactly the information you wanted to save. When in doubt, scan in colour. You can always make a black and white copy later, but you cannot recover colour you threw away.
Phone scan features in notes apps can help here. They find the page edges, straighten the shot, and even out the contrast, which beats a plain camera photo for most pages. Use them when they are available, and still check the result page by page, because edge detection sometimes crops a margin note.
Step by step: combine the JPGs
1. Gather and name the pages. Put every photo for one set of notes in one folder. Rename them in reading order, such as notes-01, notes-02, notes-03, so the order survives any sorting. Drop any duplicate or blurry retake now, while you still remember which page it was.
2. Fix orientation before converting. Rotate any sideways or upside-down photo to the right way up. Converters keep the orientation of the image you give them, so a sideways photo becomes a sideways PDF page. This check takes a minute and saves the reader from turning their screen.
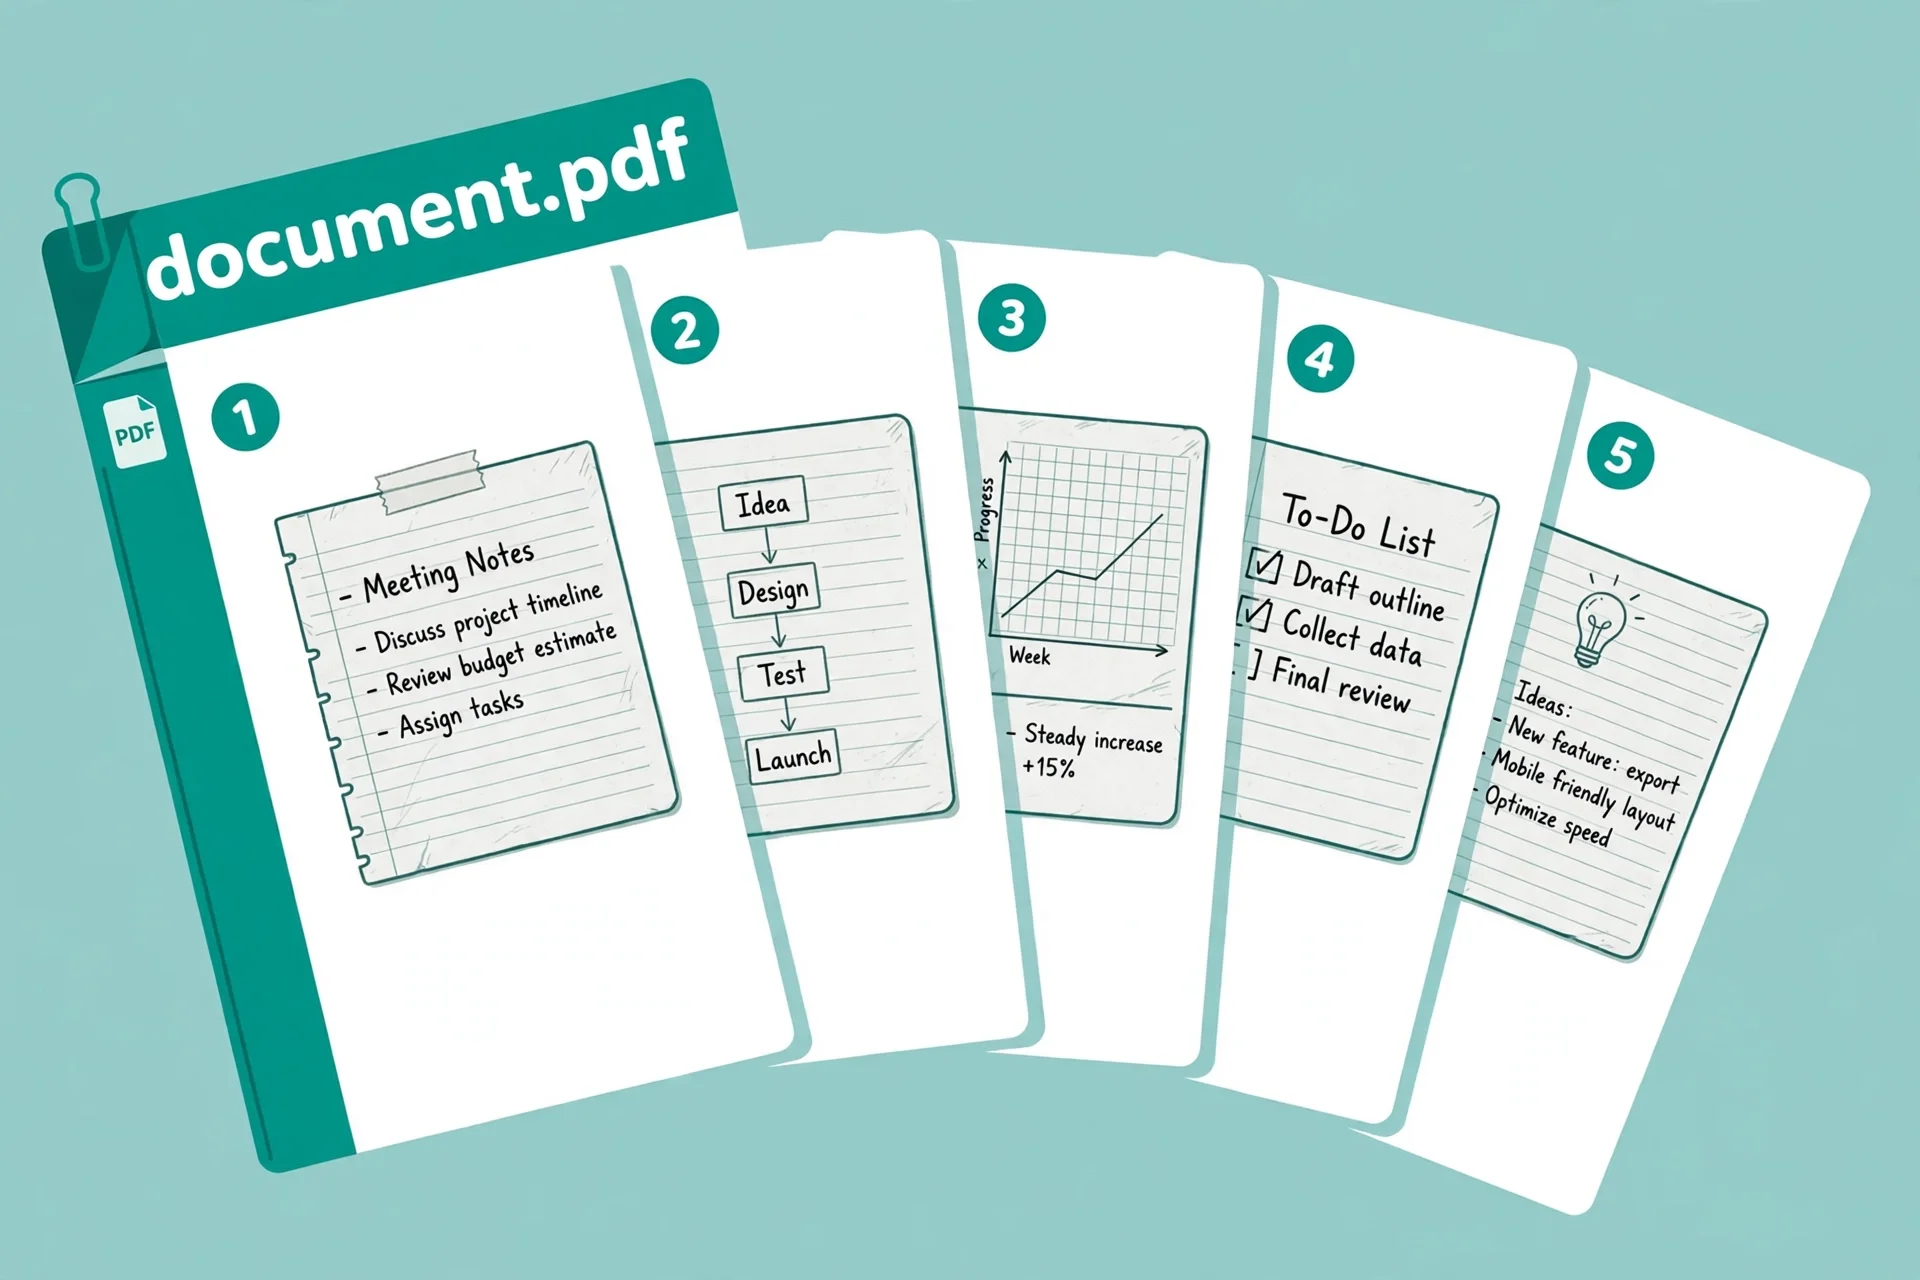
3. Add the JPGs in order. Open the free JPG to PDF converter and add the photos in reading order. The first image becomes page one, so confirm the first thumbnail is really page one before you convert. If the tool lets you drag thumbnails to reorder, use that preview as your last order check.
4. Keep one photo per page. One photo per PDF page reads naturally and keeps handwriting large. Putting two small photos on one page shrinks both and makes faint writing harder to read. The only exception is a two-page spread photographed as one image, which should stay as one page.
5. Download and read the whole PDF. Open the finished file and flip through every page, in order, at a readable zoom. Check page numbers, check that no page is missing or repeated, and zoom into the faintest handwriting on at least one page. Only then share it or delete anything.
Page size and file size
A PDF page size is a choice, not a property of the photo. A4 is the safe default for notes that may be printed or filed, because it matches ordinary paper and common form uploads. Letter works the same way for readers in the United States. What matters is consistency: every page the same size, so the document feels like one document instead of a pile of photos.
File size follows from photo size. Phone photos are often several megabytes each, so twenty pages can pass 100 MB before you notice. If the PDF must fit an email or upload limit, shrink the photos once, before converting, to a size where handwriting still reads at full zoom, rather than converting at full size and then fighting the finished PDF. A common practical result is a multi-page note PDF of a few megabytes, which emails easily and opens fast on a phone.
If the finished PDF is still too large, split the job instead of shrinking further. Send chapters or lectures as separate PDFs, or run the document through the Compress PDF tool once. Shrinking until handwriting blurs defeats the purpose of scanning the notes at all.
Check before you share
Do this check before you recycle the original pages or delete the photos. Zoom into each scan and read a few lines, especially the faintest pencil and the smallest margin notes. Confirm that highlighted definitions still show their colour if colour matters, and that no page edge cut off a line of writing.
Also confirm the document opens on the device the reader will use. A PDF that opens fine on your laptop should open fine on a phone, but a very large file may load slowly on a weak connection. If the reader is a teacher, an office, or a form upload, check any stated limits first: page size, file size, and whether the upload accepts PDF at all. Finding a limit after you built the file wastes the whole job.
Keep the original photos until the PDF has been read once through by you, and ideally until the reader confirms it opens. Storage is cheap. A lost notebook page is not recoverable, and a re-scan needs the notebook to still exist.

Common mistakes and fixes
Pages out of order. Fix it by naming photos in page order before converting, and by checking the first thumbnail before you convert. A retaken page belongs in its page slot, not at the end of the set.
One sideways page in the middle. Fix it by rotating photos before converting. Converters do not fix orientation for you, and one sideways page breaks the reading flow of the whole document.
Shadow or glare across the writing. Fix it by re-shooting that page in soft even light with the phone parallel to the page. Cleanup filters help, but they cannot recover writing hidden under a hard shadow.
Colour meaning lost in black and white. Fix it by scanning colour-coded notes in colour. Black and white suits plain dark ink, but it erases highlights and red corrections.
PDF too large to send. Fix it by shrinking photos once before converting, or by splitting the set into chapters. Do not shrink until handwriting blurs, and do not convert a huge file and hope the upload accepts it.
Originals deleted before checking. Fix it by keeping photos until the finished PDF has been read once through. If the notebook is gone, a bad scan cannot be retaken.
Frequently asked questions
How do I combine multiple JPGs into one PDF?
Add the JPGs to a JPG to PDF converter in reading order, keep one photo per PDF page, and download a single file. The first image becomes page one, so check the order in the preview before converting.
How do I keep scanned handwriting readable?
Use soft even light, hold the phone parallel to the page, and keep the whole page in frame. Avoid shadows and glare, keep colour-coded notes in colour, and zoom into the faintest writing at full size before sharing.
Should I scan notes in colour or black and white?
Use black and white for plain notes in dark ink, since it makes text crisp and files smaller. Use colour when highlights, red corrections, or colour-coded diagrams carry meaning, because black and white can erase that information.
What page size should a scanned notes PDF use?
A4 is the safe default for notes that may be printed or filed, and Letter suits readers in the United States. Keep every page the same size so the document reads as one document instead of a pile of photos.
Why is my scanned notes PDF so large?
Phone photos are often several megabytes each, so twenty pages add up fast. Shrink the photos once before converting, convert only the pages the reader needs, or split the set into chapters instead of shrinking until handwriting blurs.
Can I make the PDF text searchable?
A JPG to PDF conversion keeps pages as images, so the handwriting itself is not searchable text unless an OCR step is added. If search matters, run the PDF through an OCR tool after converting, or keep a typed summary alongside the scanned pages.
Try the free converter
Gather the photos, name them in page order, fix any sideways page, and add them in order. One photo per page, A4 size, and a full read-through at the end. That routine turns a folder of photos into a document someone can actually use.
When you are ready, open the free JPG to PDF converter, add your photos in reading order, and download the single PDF. Check it page by page before you share it, and keep the original photos until that check is done.
How we tested this: we checked the capture advice against published scanning guides found during research, including guidance on even lighting, shadows and glare, colour versus black and white, and naming scans in order, and we read the JPG to PDF tool page on this site to confirm it processes files in the browser with no signup. This guide describes a photo-to-PDF workflow, not an OCR workflow, so handwriting stays as images unless you add OCR separately.
Privacy note: the JPG to PDF tool page states that your photos are processed in your browser and never uploaded, with no signup and no watermark. Scanned notes, which are often personal, are not sent to a server to be combined.
Last updated: November 3, 2026